Sans-List Block Calendars
This page attempts to illustrate a method of getting your typed list and your preferred image printed on your block planner.
Add or Change a Background Picture
 Block Template - DOC
[The template was made with Microsoft Word 2002.] Instructions are based on Word 2002.
Open the Block Template.
Change the Picture
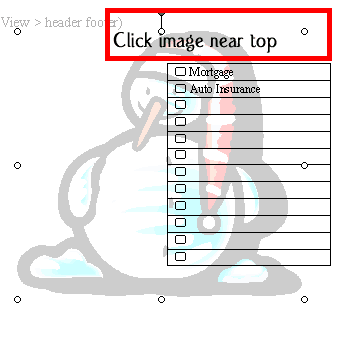 Click the image near the top. Dots will appear when it is active. (Note: When replacing the image, be sure to keep a portion of it above the table.) When the dots appear, press the delete key on your keyboard. Actually, there are several ways to cut the image. With the image gone, you can now add your own image or select one from clipart. So go do that.
In case you do not know how to insert an image: In MSWord, do this from the menu:
Choose Insert
Choose Picture
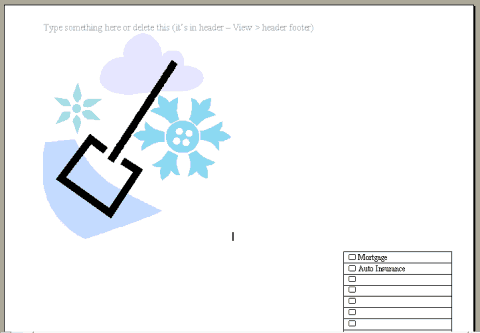
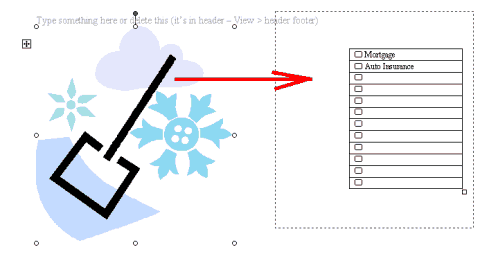
Decide where to get the picture and add it. The picture will appear on the left side and it will probably move the list table down. That can be fixed.
Image below shows a newly inserted picture.
Fade the Picture
The next part describes how to make your image faded with MSWord.
Click the image first to Select it. A box will appear around the image when it is selected.
From the menu choose Format
Choose Picture
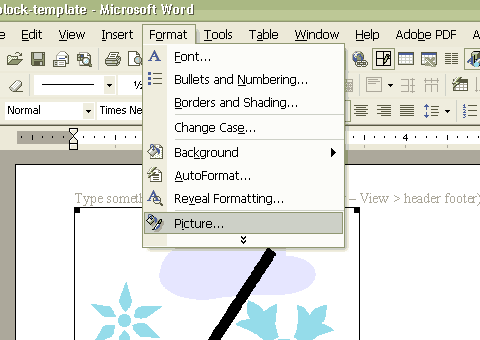
Choose the Picture tab
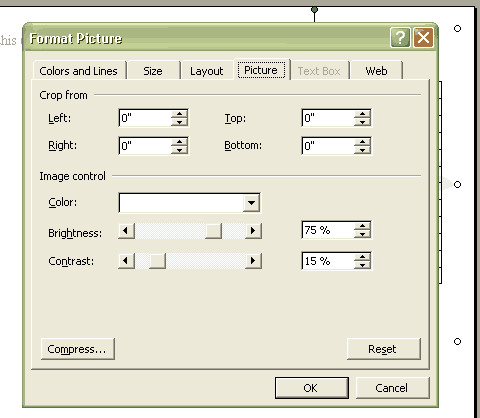
Either choose Background from the drop-down list or adjust the brightness and contrast to suit the image. To adjust the picture, slide the Brightness and Contrast bars to a setting similar to the one shown in the image (brightness 75%, contrast 15%). Close the window and look at the image. If it is not faded enough or too much, open the Format-Picture window again and adjust the settings until the image is right.
Place Picture Behind Text
Now the picture needs to be behind the table and text.
Go to the format picture window again:
From the menu choose Format
Choose Picture
Choose the Layout tab.
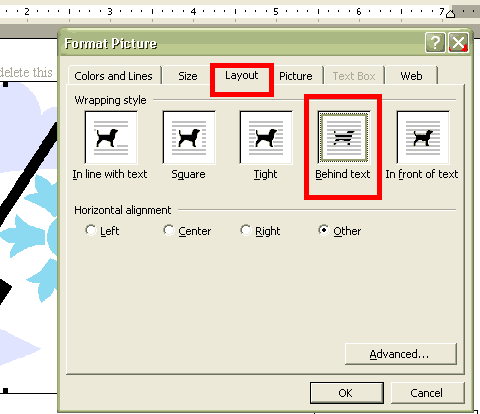
Choose Behind Text.
Click OK to close the window.
Your image should have dots or adjusting points on it now instead of being surrounded by a box. Hover your mouse pointer over the image until you see the moving-icon - on my computer, it looks like this:  When the moving-icon appears, click and hold the mouse button down and drag the picture where you want the picture to be.
If you want the picture to be larger or smaller, push or pull on a corner dot.
Save your file with a new name.

 The site-cd, YoungMinds,
 Edward Hopper - Compartment C, Car 293
 Unlock A Cell Sometimes


