DonnaYoung.org Booklet
This booklet is based on the original prototype that has never been offered online. This is the improved version of the booklet with the background image faded in appropriate places.
The instructions to make the booklet are just like the rest of the booklets.
- Get two pieces of paper
- Turn on your printer
- On The First Piece of Paper
Print ONE copy of the Title file
Turn the paper over [the right way] and put it back into your printer so that you can print the other side
Print a copy of the Ruled file [don't close the ruled file yet]
 - On The second Piece of Paper
Print the Ruled file on both sides of the paper
 - Trim, Stack, and Assemble booklet as directed on the instructions web page
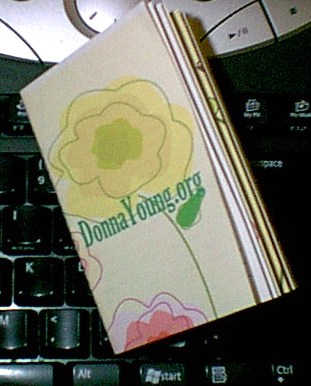
Images of the Process
After you have printed the two files on both sides of two sheets of paper, you will have something that should look exactly like the photograph below. I printed this booklet on 32lb paper.
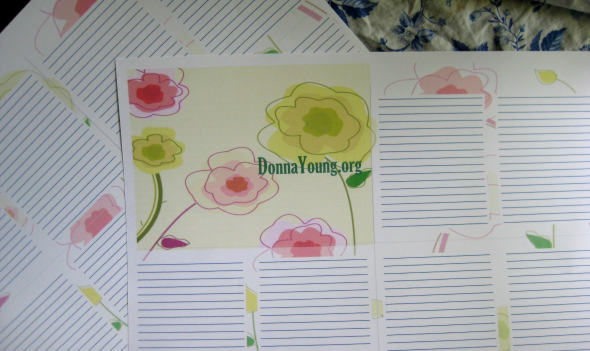
Next you will fold each of the two sheets of paper in half to determine the center and either cut or tear the paper on the fold-line. Tip for tearing: To tear successfully, the edge has to be dampened.
You will then fold the four papers you have left in half in the same manner mentioned above and cut or tear each paper along the fold-line. Now you should have the 8 small pieces of paper for the booklet.
Find the TOP edges of the 8 pieces of paper. See photograph below. If you do not do this, some of your pages might end up upside down in the booklet. They are in the prototype.
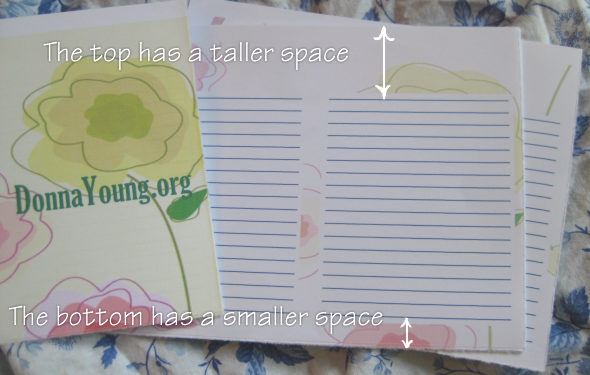
Once you have located all the tops, stack the papers. Fold the Title page in half, then unfold it. This makes a line in the center for the staples or thread. Staple or sew through all layers of the booklet.
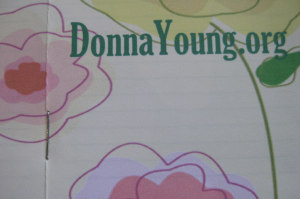 This photograph shows the booklet stapled along the center fold-line. Note: Only the title page needs to be folded to make the center fold-line for sewing or stapling.
After the booklet is stapled or sewn, start folding the booklet in half, page by page until all pages are folded and the booklet looks like a booklet.
 Look at the edge of the pages, they are lopsided.
Lopsided pages makes the booklet hard to thumb through and it's untidy. If you can live with lopsided pages then you are finished. If you want even page edges, then you will have to trim them.
Items Needed to Trim Page Edges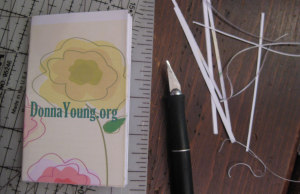
- Exacto knife
- Straight edge meant for trimming or cutting
- Cutting board
Or there might be other suitable page edge trimming items. Scissors are not suitable.
If you choose, trim the edges. If you use an exacto knife, don't press harder than necessary. It will take several strokes with moderate pressure to cut through the pages. With every stroke, keep the knife at the same angle, hopefully 90 degrees in relation to the booklet, and take your time and be mindful of your fingers. The photograph below shows the booklet's trimmed edge.

Donna Young
June 06, 2010


 Unlock A Cell Sometimes
 We, I, have made "ruled president paper."

